
Learning how to make a 3D model for printing is quite different from creating one for animation, game, or movie. First and foremost, you should prepare specific 3D modeling software and printers. Follow this article to learn basic 3D Modeling guidelines and get the most out of our expert tips.
5 Steps Creating a 3D Model for Printing
A newbie often needs clarification when learning how to design 3D prints. Make it simple with the five basic steps: Install a 3D Modeling Program; Make a Plan to Design; Design 3D Model; Export the Complete Design; Prepare a Slicer to Print. Read the below for more details:
Install a 3D Modeling Program
Without Computer Aided Design software, you cannot design a 3D model. These programs allow you to create a design before printing a realistic model. The question is, “What program should I use to create 3D models for printing?” There are multiple CAD programs, including free and paid choices. Let’s take a look for the best.
Free CAD Software
A free program is the best choice for newbies to start. The experienced also use free versions to test before upgrading. They allow users to design a 3D model with only a few limitations. You can consider the top popular free software, such as:
- TinkerCAD: This is ideal for beginners because it is 100% free, easy to use, and light. It offers a beginner-friendly display, works on the browser, allows drag-and-drop 3D shapes, and saves design files to the cloud. Moreover, it is compatible with a lot of 3D printers. Even so, few advanced tools exist to create a high-complex printing model.
- Fusion 360: The free license in 3 years brings almost all of its features to design a completed model for 3D engineers. For printing purposes, it is rated higher than Maya software. With a lot of tools, beginners would spend weeks learning them.
- FreeCAD: If you want to create architectural objects or product shapes, FreeCAD is the most suitable. It is more multi-featured than TinkerCAD and friendlier than Fusion 360. It can help export to diversify file formats to connect with many 3D slicers.
- Blender: It is the perfect free software to practice building organic models such as animals, humans, or small technical objects. However, its workspace could be more intuitive.
- Onshape: You can create 3D models quickly on a browser. Only upgraded accounts can use professional features and keep the models private.
- SketchUp: This tool also allows users to practice on browsers. It includes various free 3D models for printing. Moreover, it offers cloud storage for users to access their work anytime and anywhere.
Paid CAD Software
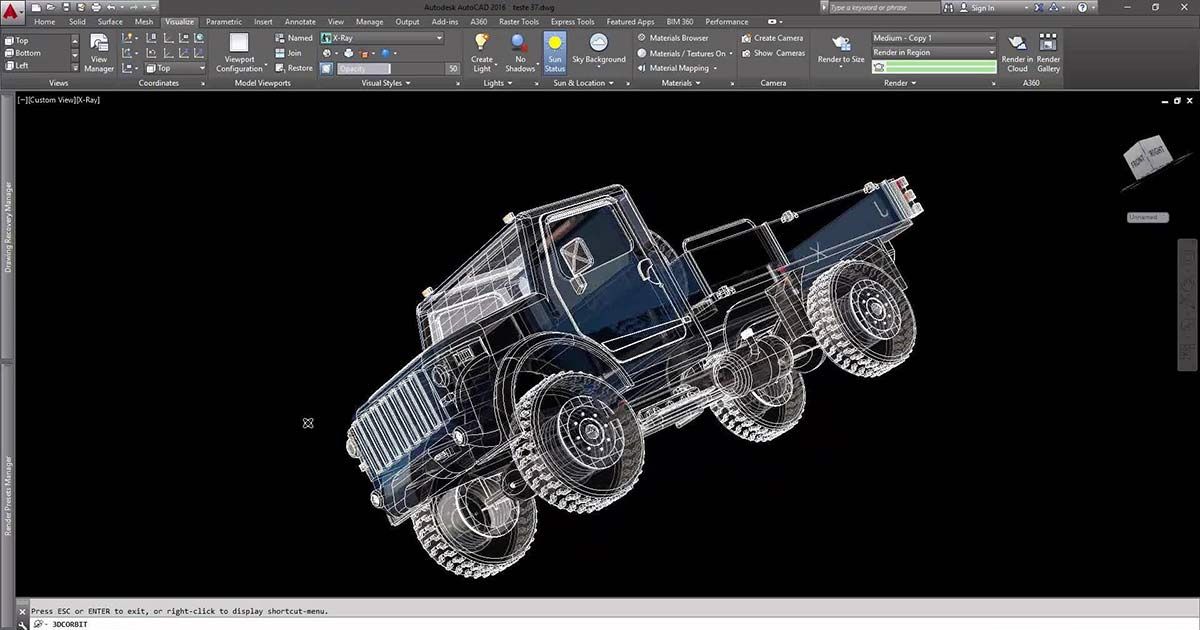
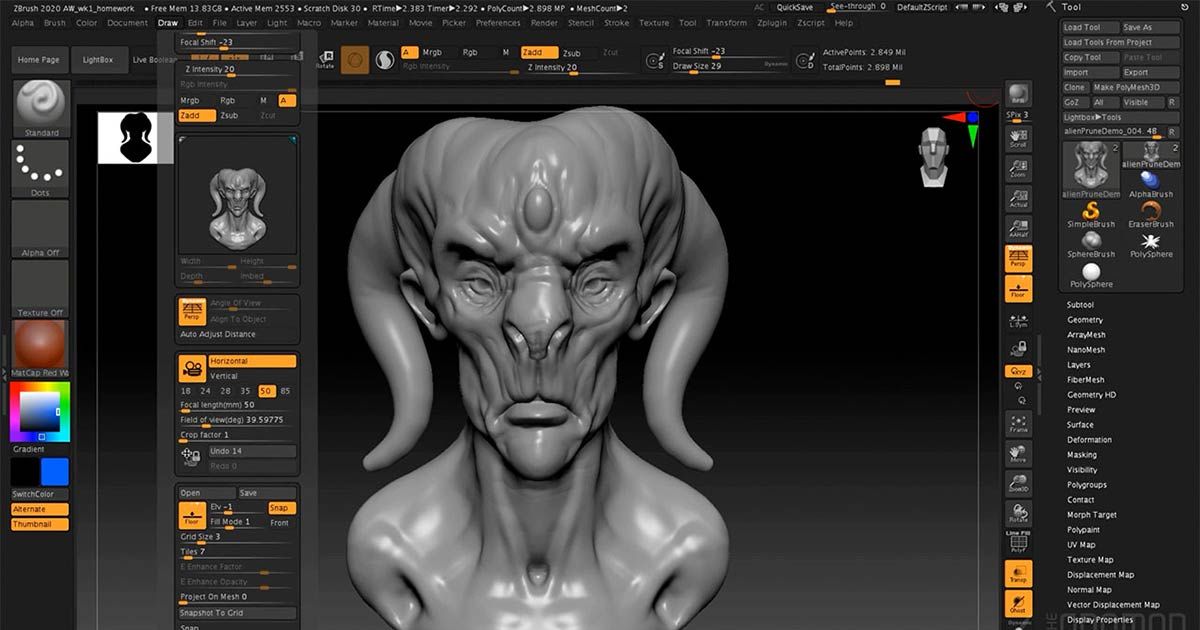
You can use the full advanced integrated features using professional or paid versions of CAD Software. Therefore, designing 3D models will become less challenging.Besides the pro version of the above software, some of the most popular paid CAD software are AutoCAD, Solidworks, Solid Edge, ZBrush, etc.
Make a Plan to Design
The process of making a 3D model includes multiple tasks. A plan will give you a clear direction to reach the project’s goals. The most crucial step is the wall thickness and detail.
- Wall thickness: Calculating the minimum and maximum thickness helps make the model solid.
- Detail level: Each 3D printer offers a certain detail level. Besides, the chosen material also gives a different look. It is essential to indicate these things before designing a 3D model on the computer.
A good plan should have many smaller tasks with a due date. You can schedule one through your financial capability, humans, and project requirements.
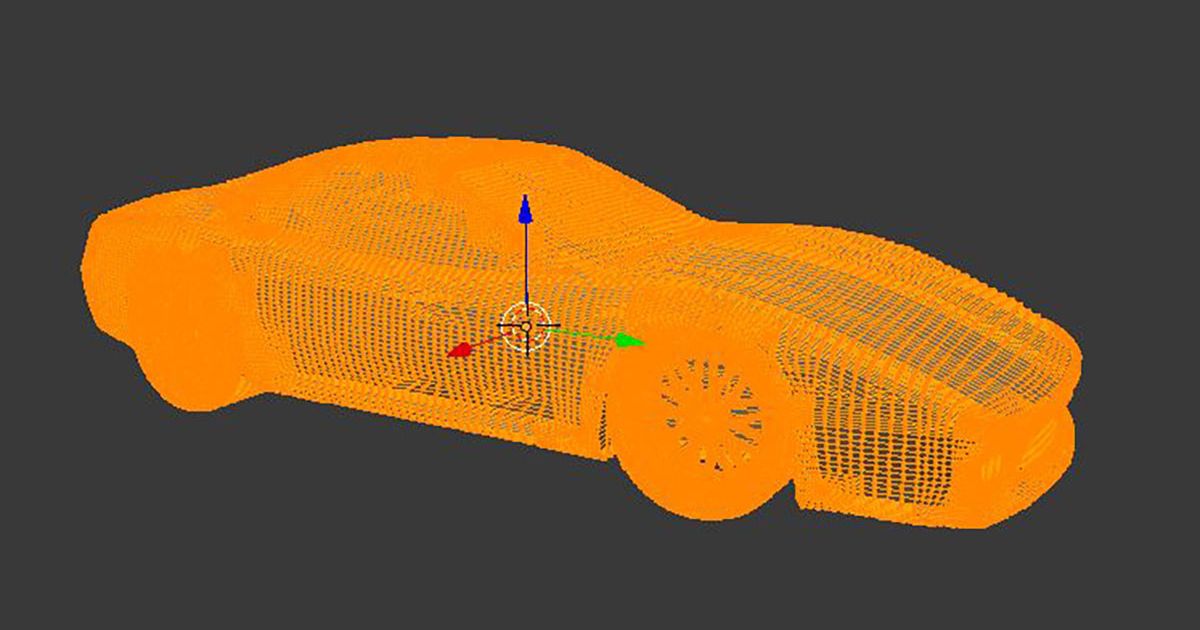
Design 3D Model
Designing a 3D printable model is much more complicated than 2D work. The engineers must manage many parameters and components to turn a design into a physical object. There are some basic rules when designing a 3D model for printing.
Bridging
The bridge is the horizontal part connecting two vertical elements. To have a clear visualization, let’s think of bridges in life. This section can sag or collapse when printing. Engineers have found the two best ways to solve this problem:
- Build a less than 5mm bridge.
- Design a structure to support it, then cut them after finishing printing.
Overhangs
Like Bride, Overhangs is also a horizontal section. However, there is only one supported vertical section. You can imagine the “T” shape. The unsupported flat part can also sag or fail. The best way to prevent this problem is adding an angle of up to 45o, an upright “Y” shape, or other supports.
Corners
Most nozzles of 3D printers are round, so the right or acute angles cannot reach the expected sharpness. When designing, you can add fileted interior or external corners on bridges or overhangs to avoid this problem.
Round surfaces
Layer lines can be jagged like a staircase when printing a 3D model with a rounded surface because the printer builds it layer by layer. There are three effective solutions, including
- Making the steps between each layer smaller by lowering layer height when printing.
- Using the Stereolithography (SLA) printing technique.
- Sanding and smoothing the 3D model after slicing.
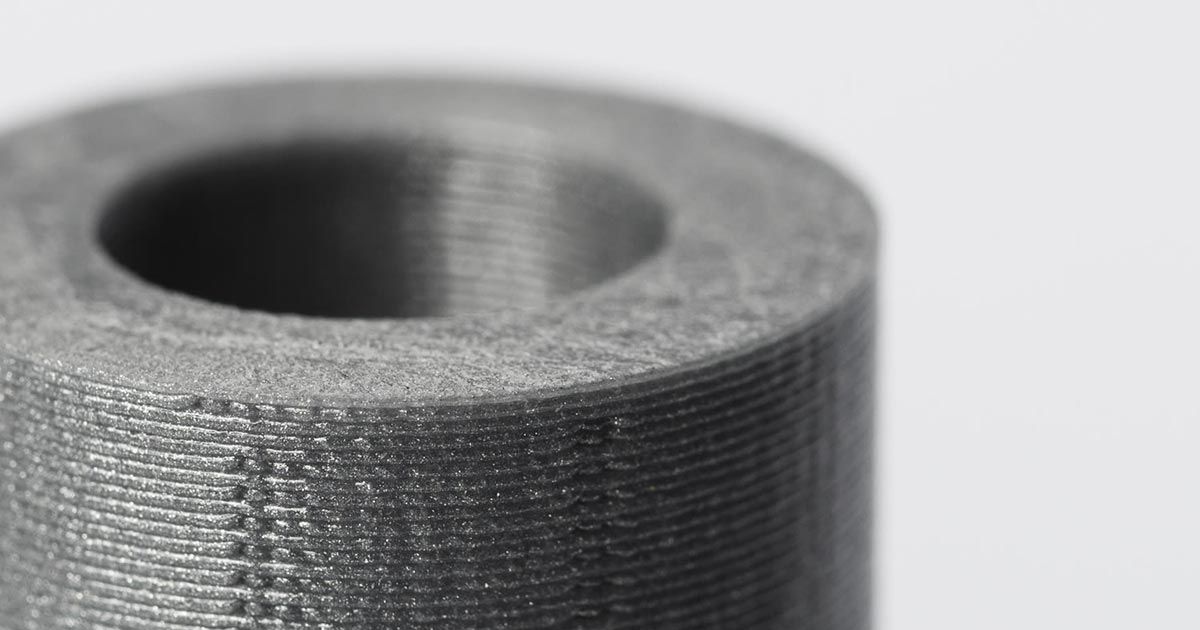
Holes
The printing process can push down on material, which makes the hole smaller than the CAD design. If its function is to contain something, it may cause trouble. Experienced engineers often widen the hole diameter and test some parts before slicing the whole model.
First layers
The first layer plays a vital role in preventing slipping for the next part. A broad, flat layer gives more contact points to improve adhesion and stability.However, it might not be suitable for any object, such as a ball. If you start normally, the first layers only have tiny contact points. The following layers will collapse, and you will fail. It is much better to slice every dome and stick them together.
Layer orientation
Choosing an appropriate layer orientation can give excellent support when printing weak parts. For example, slicing a self-flat or parallel is much stronger than putting it upright or perpendicular to the flat base.
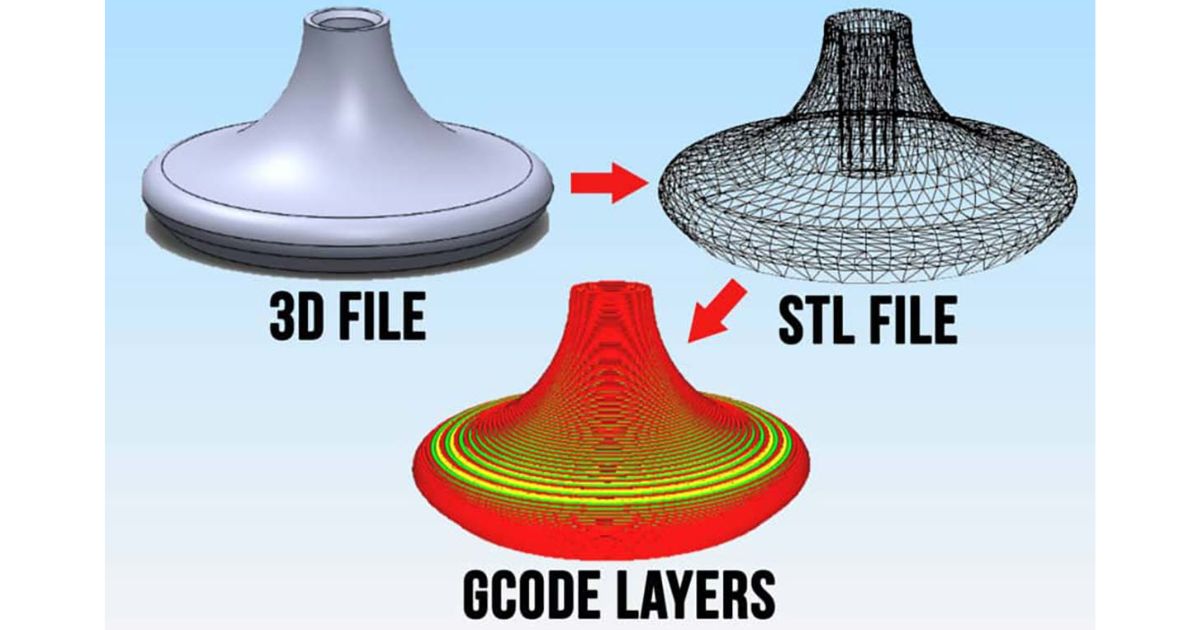
Export the Complete Design
Congratulations on completing a 3D model design after a long hard-working time. Now, let’s save your work. The process can take seconds or minutes, based on the complexity and computer hardware.On your 3D software, go to the save function and export it to an STL file. It is the most common format that most 3D print modeling machines support. Other file formats are dae, x3D, x3Db, wrl, zip, or x3Dv.Some 3D printers may require you to insert the field into an SD card. Notice to name the file correctly following the printer manual.
Prepare a Slicer to Print
Slicer helps 3D printers to convert a 3D model by giving machine-readable instructions. More understandably, it controls the movements of the printer. You need to take notice of some settings:
- Print speed
- Nozzle temperature
- Bed temperature
- Retraction settings
- Print order prioritization
- Cooling fan settings
- Infill percentage
- Infill pattern
Similar to CAD Software, there are many free and paid slicing software. Here are top-rated slicers for you.
- Ultimaker Cura: It is free but can give anything you expect. It offers a professional open-source slicer, free plugins, time setup, and a simple process (prepare, preview, and monitor).
- Prusa Slicer: Compared with Cura, it supports FDM and SLA printers. However, it doesn’t have free downloadable plugins.
- Slic3r: This slicing software is often updated to improve the speed and add new features. It can repair and slice multi-extruder automatically.
- OctoPrint: Printing takes a lot of time, and you must observe the process. It is impossible to stand next to it the whole day. OctoPrint comes with a webcam and remote management to adjust the printer.
Premium Slicer Alternatives require a certain fee. Most experts say that paying for one is unnecessary because free choices are fast and good enough.Amazing! You now have your 3D design, slicer, and printer ready. Just follow and wait to get your 3D model.
5 Mistakes to Avoid When Making 3D Printable Models
3D modeling design, slicer, and printer software are so diverse. Here are the most common mistakes you should avoid when making a 3D model for printing.
Don’t Follow Material Guidelines
Materials come in many types, such as ABS, Alumide, Bronze, Gold, SLS, Titanium, etc. Each has different properties, including melting temperature, hardness, color, etc.Comprehending the material properties helps you plan well for overhangs and supporting elements. Then, 3D printing can become much stronger.
Skip Printing Technology
Printing technology for every group of materials is dissimilar. For example, printing ABS needs a bigger nozzle, while gold or silver printing uses lost wax casting. Wrong printing technology causes bad, weak models and even failure. The solution is to read the material guide carefully to learn the proper process.
Disregard Wall Thickness
Wall thickness is the principal element in creating 3D prints. So, it’s worth emphasizing it twice. Too thin walls can make 3D structures weak and even collapse. While too thick walls can push too much pressure and even crack.Indicating 3D wall thickness requires an understanding surface, alignment, size, material, and overall design. The instruction is in the material guideline or printer manual.
Set Aside File Resolution
It will only work if you remember to set file resolution when exporting. Too low a resolution makes the surface rougher and the triangles bigger. In contrast, an extreme-resolution file is impossible to print. The printer cannot process the great detail of the file.Expert advice is setting tolerance at 0.01 mm and exporting a file size below 100Mb. The result will most closely resemble the design.
Forget Software Guidelines
Some software requires you to set typical features before designing. If you are in animation, you cannot make a 3D model for printing.Each software is different in use. Therefore, don’t forget to read the manual on the Internet or book!
FAQs
What program should I use to create 3D models for printing?
You need a 3D modeling design and 3D slicing software to create 3D models for printing. They come with multiple different features. You can try the free version or upgrade to the premium to get the most out of them. Please return to the software mentioned above to take the most suitable one.
Is it hard to design for 3D printing?
The 3D print modeling process becomes straightforward when you learn and practice the proper approach. It can take time initially because you must understand basic knowledge and do the first practice. So, be patient to achieve your goals.
You may also be interested in: how long does it take to make a 3d model?
How do I create a 3D print model?
Creating a 3D print model means designing it on a CAD program. First, you must prepare one, learn how to use it, and practice it. Then, research your model to make a step-by-step plan. When creating, pay attention to bridges, overhangs, corners, round surfaces, holes, and layers. Finally, remember to export it to the suitable format, tolerance, and resolution.
Conclusion
In general, creating a complete 3D model for printing is not too complicated if you follow all the suggestions we have mentioned above. Do you have any other questions about how to make a 3D model for printing? Or you want to create one, so why not have it with our 3D printing service? Please don’t hesitate to contact us for advice from our experts and consultants.
Related Posts: